Fixing the Curtain Rod in Drywall
Fixing the Curtain Rod in Drywall
Curtains are functional as well as practical and attractive. While curtain rod brackets are difficult to put in, the end result is well worth the effort. This is until the curtains fall out of your wall, leaving gaps.
It's more common than you believe. Here are some of the most typical reasons:
- You did not secure your curtain rod in a proper manner.
- You're using the incorrect type of curtain rod. It's not able to hold the load of curtains. This causes it to bow and slide off the wall.
- Pets or children yank or tug on the curtains, pulling them down.
In addition to leaving holes that annoyingly fall off, curtains may also harm your walls to the point that it's impossible to hang them again in the same place. So, how can you resolve this issue?
How to Repair Holes in Curtain Rods Without Patching Drywall
In the event that damage doesn't seem extensive, you won't need to repair the wall. Follow these instructions to hang curtains once they've fallen off the wall.
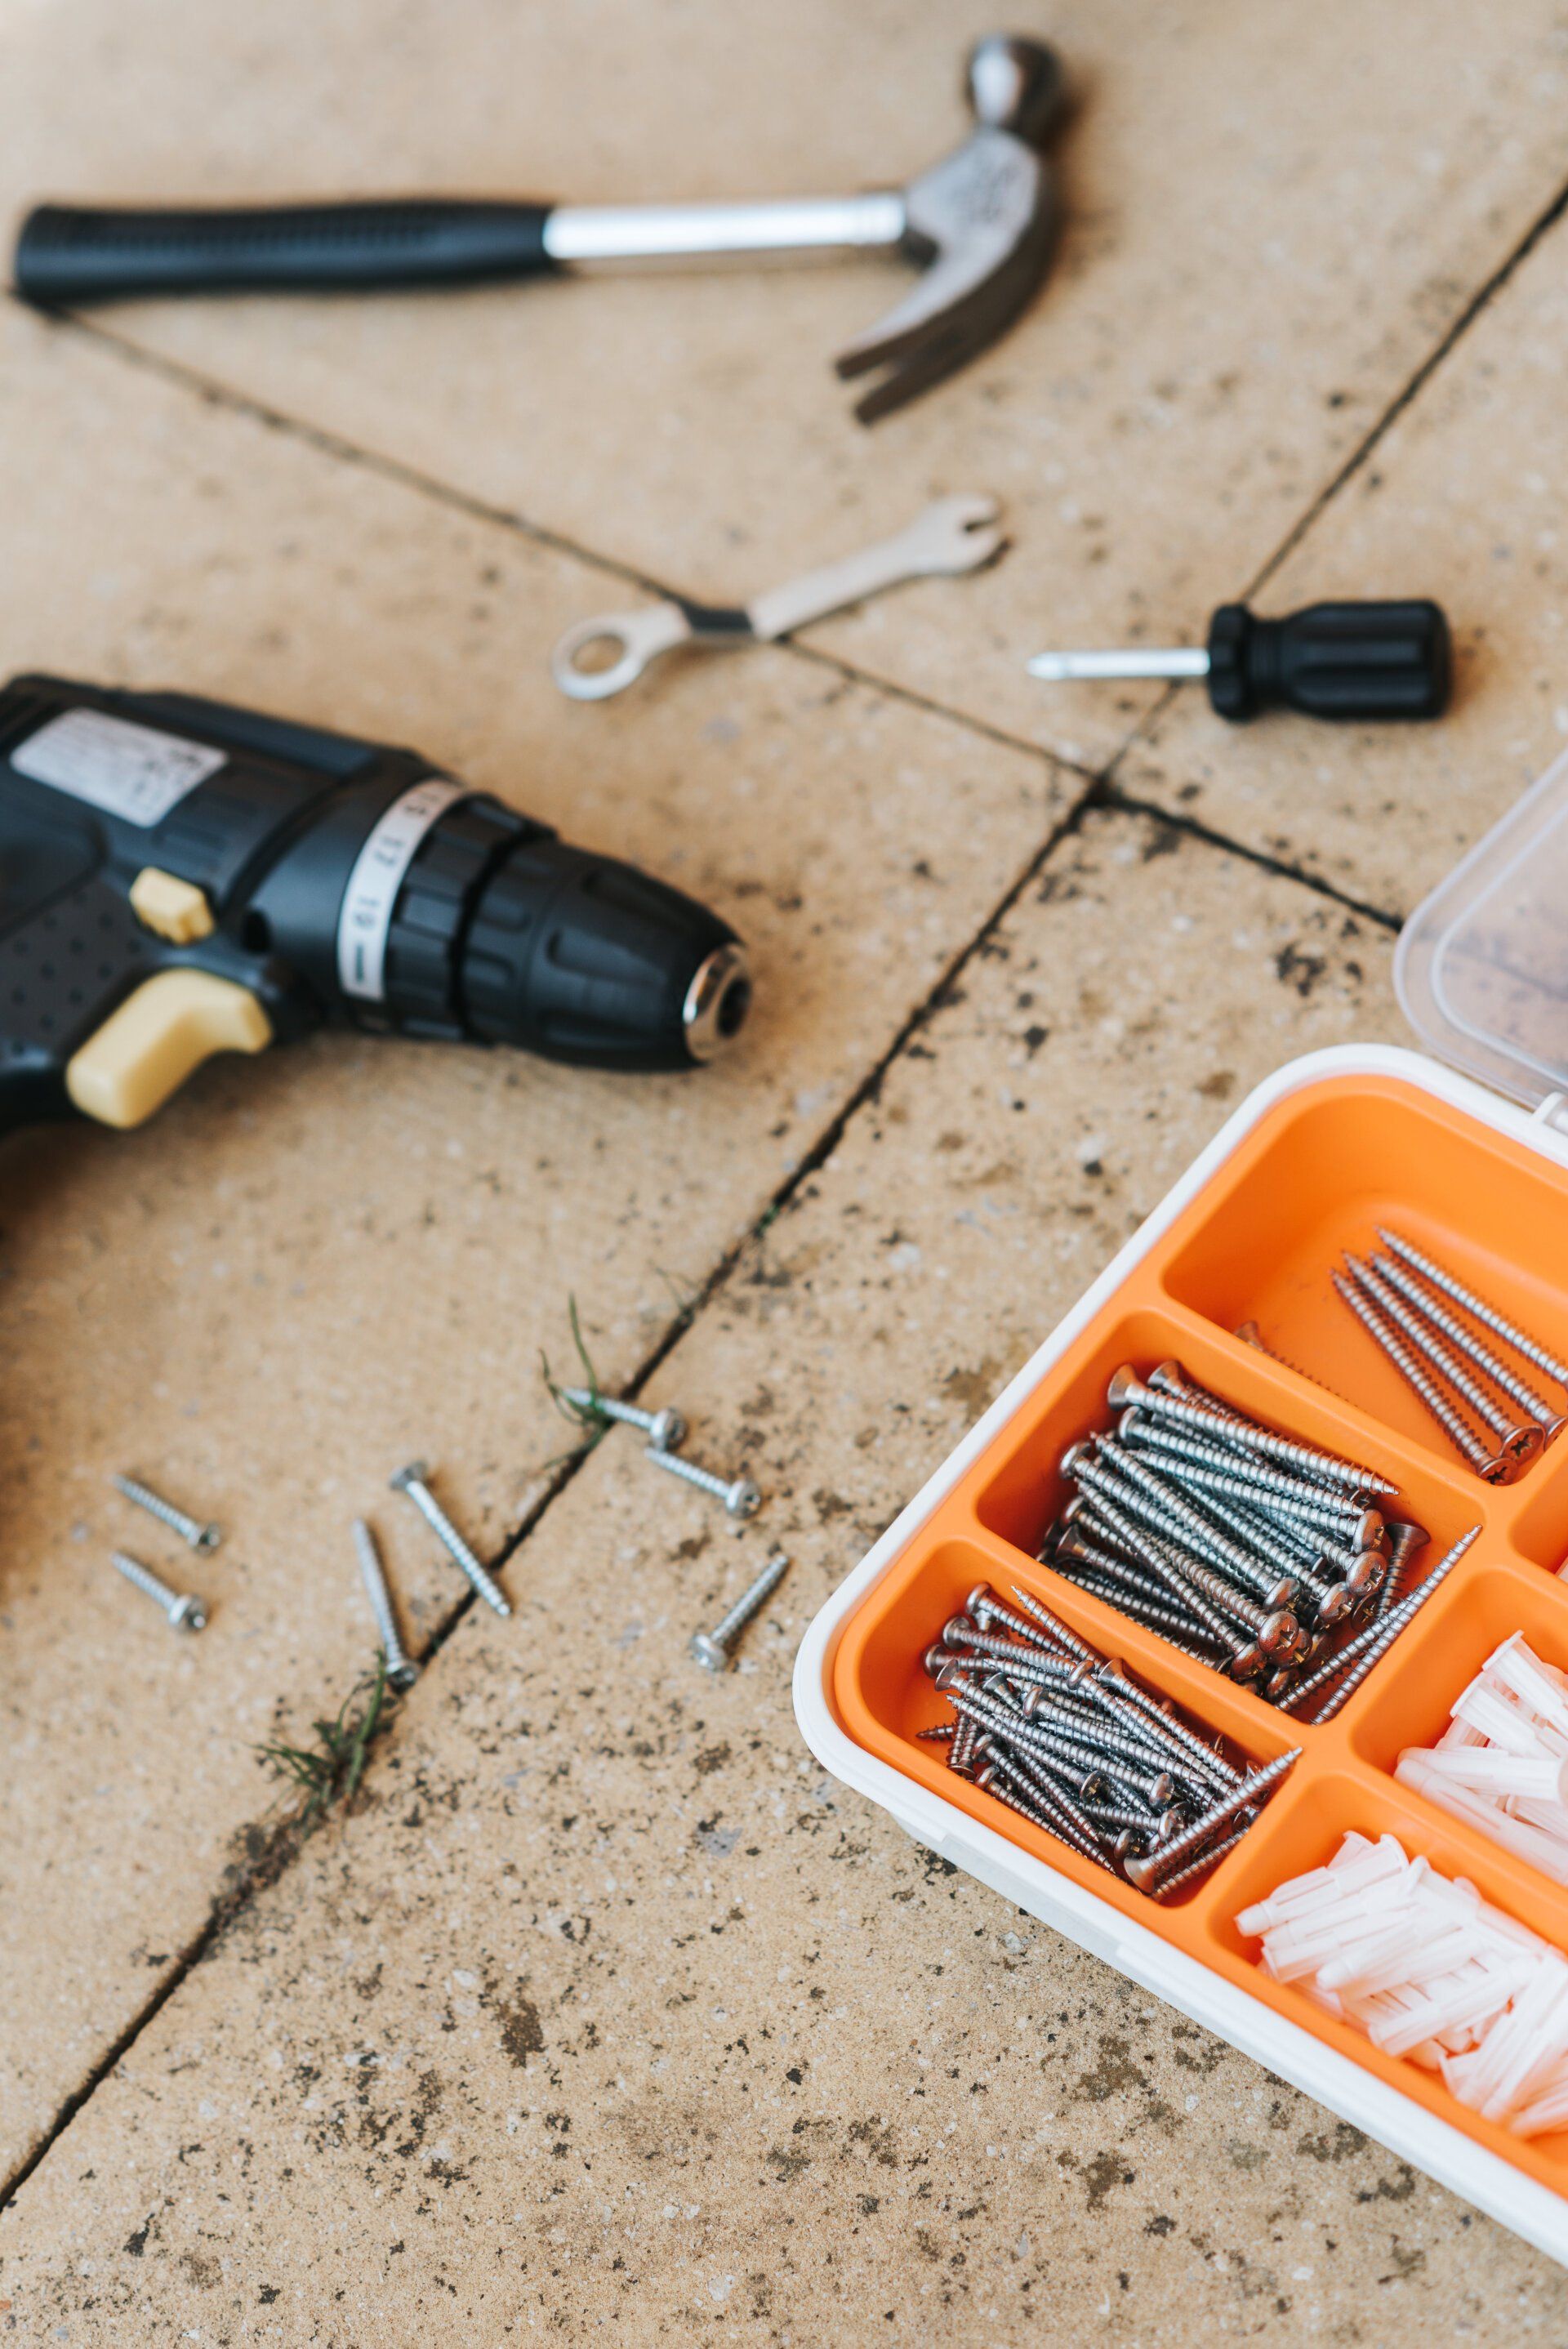
1. Find the best tools.
You'll require:
- Hammer
- Screwdriver
- Power drill equipped with 3/16-inch drill bits
- Needle-nose pliers
- Small plastic anchors for drywall
- Screws
2. Take off the curtain rod.
Take the rod off the brackets. Tap the brackets using the hammer against an even smooth surface in order to straighten them (if they're malleable, you can use an abrasive mallet to protect them from injury). To straighten bent bends within the curtain rod, employ needle-nose pliers for bending it back to its original position.
3. Fix the holes of the curtain rod.
Make the top and bottom holes in the wall where the bracket was mounted on the wall. Install an anchor in each hole using a hammer.
4. Connect the curtain mount.
Place the bracket on top of the anchors. Install screws through the holes in the bracket to anchor them. Fix it by closing the screw using the screwdriver.
5. Repeat.
Repeat the steps using the bracket that is on the other side. If your window has a central support bracket, follow the same steps to place your central support bracket.
6. The curtains should be rehung.
Place the curtains on the rod and then put them on brackets.
How to Repair Curtain Rod Holes with Patching Compound
Sometimes, the wall's damage is too extensive to be dealt with by re-drilling holes. If it's more than an inch, you'll need to patch the compound, as well as a bit of extra support to ensure that the rod stays within the wall.
1. Make sure you have the right tools.
You'll need:
- Screwdriver with flat head
- Newspaper
- Small bowl
- Spackle paste or patching compound
- All-purpose joint compound for drywall
- Putty knife
- 4-inch drywall knife
- 120-grit sandpaper
- Primer for drywall
2. Clean the hole.
Begin by using a screwdriver with a flat head to take out the hole. Then, scrape any remaining drywall.
3. The hole should be filled with newspaper.
Then, put a piece of newspaper in the hole (this will assist in supporting patches). Make sure the newspaper sits securely inside the hole. If it appears loose, add more.
4. Mix patching compound and water.
Mix about a half cup of mixing compound and water in the bowl. The mixture should be stiff but flexible enough to spread. Try to lift it up by using the aid of a knife. If it runs off, then you can add additional powder.
5. Patch the hole with a patching compound.
Use a putty knife and put the patching compound in the gap. Make sure that it covers the gap evenly and doesn't expand out. Allow it 20 to 30 minutes to set.
Then, apply the joint compound for drywall to the patch, and then apply it. Make use of a drywall knife that is 4 inches to scrape the patch into a flat. Allow to dry overnight before applying the second coat.
Ready to work with Astra Expert Drywall Vancouver?
Let's connect! We’re here to help.
Send us a message and we’ll be in touch.
Or give us a call today at 778-402-1136
More Tips, Tricks & Tools