Removing a Drywall
Removing a Drywall
Before you begin the process of tearing up drywall, make sure you take a look at these tips. We'll help you complete the task in a safe and efficient manner.
If you like watching demolition scenes from the home improvement show, you'll likely enjoy the process of removing the drywall. This is a crucial task that every homeowner should be able to tackle. Before you begin hitting the hammer, there are some crucial actions you should be aware of. In this article, we will demonstrate the safest and most efficient way to take down drywall at home.
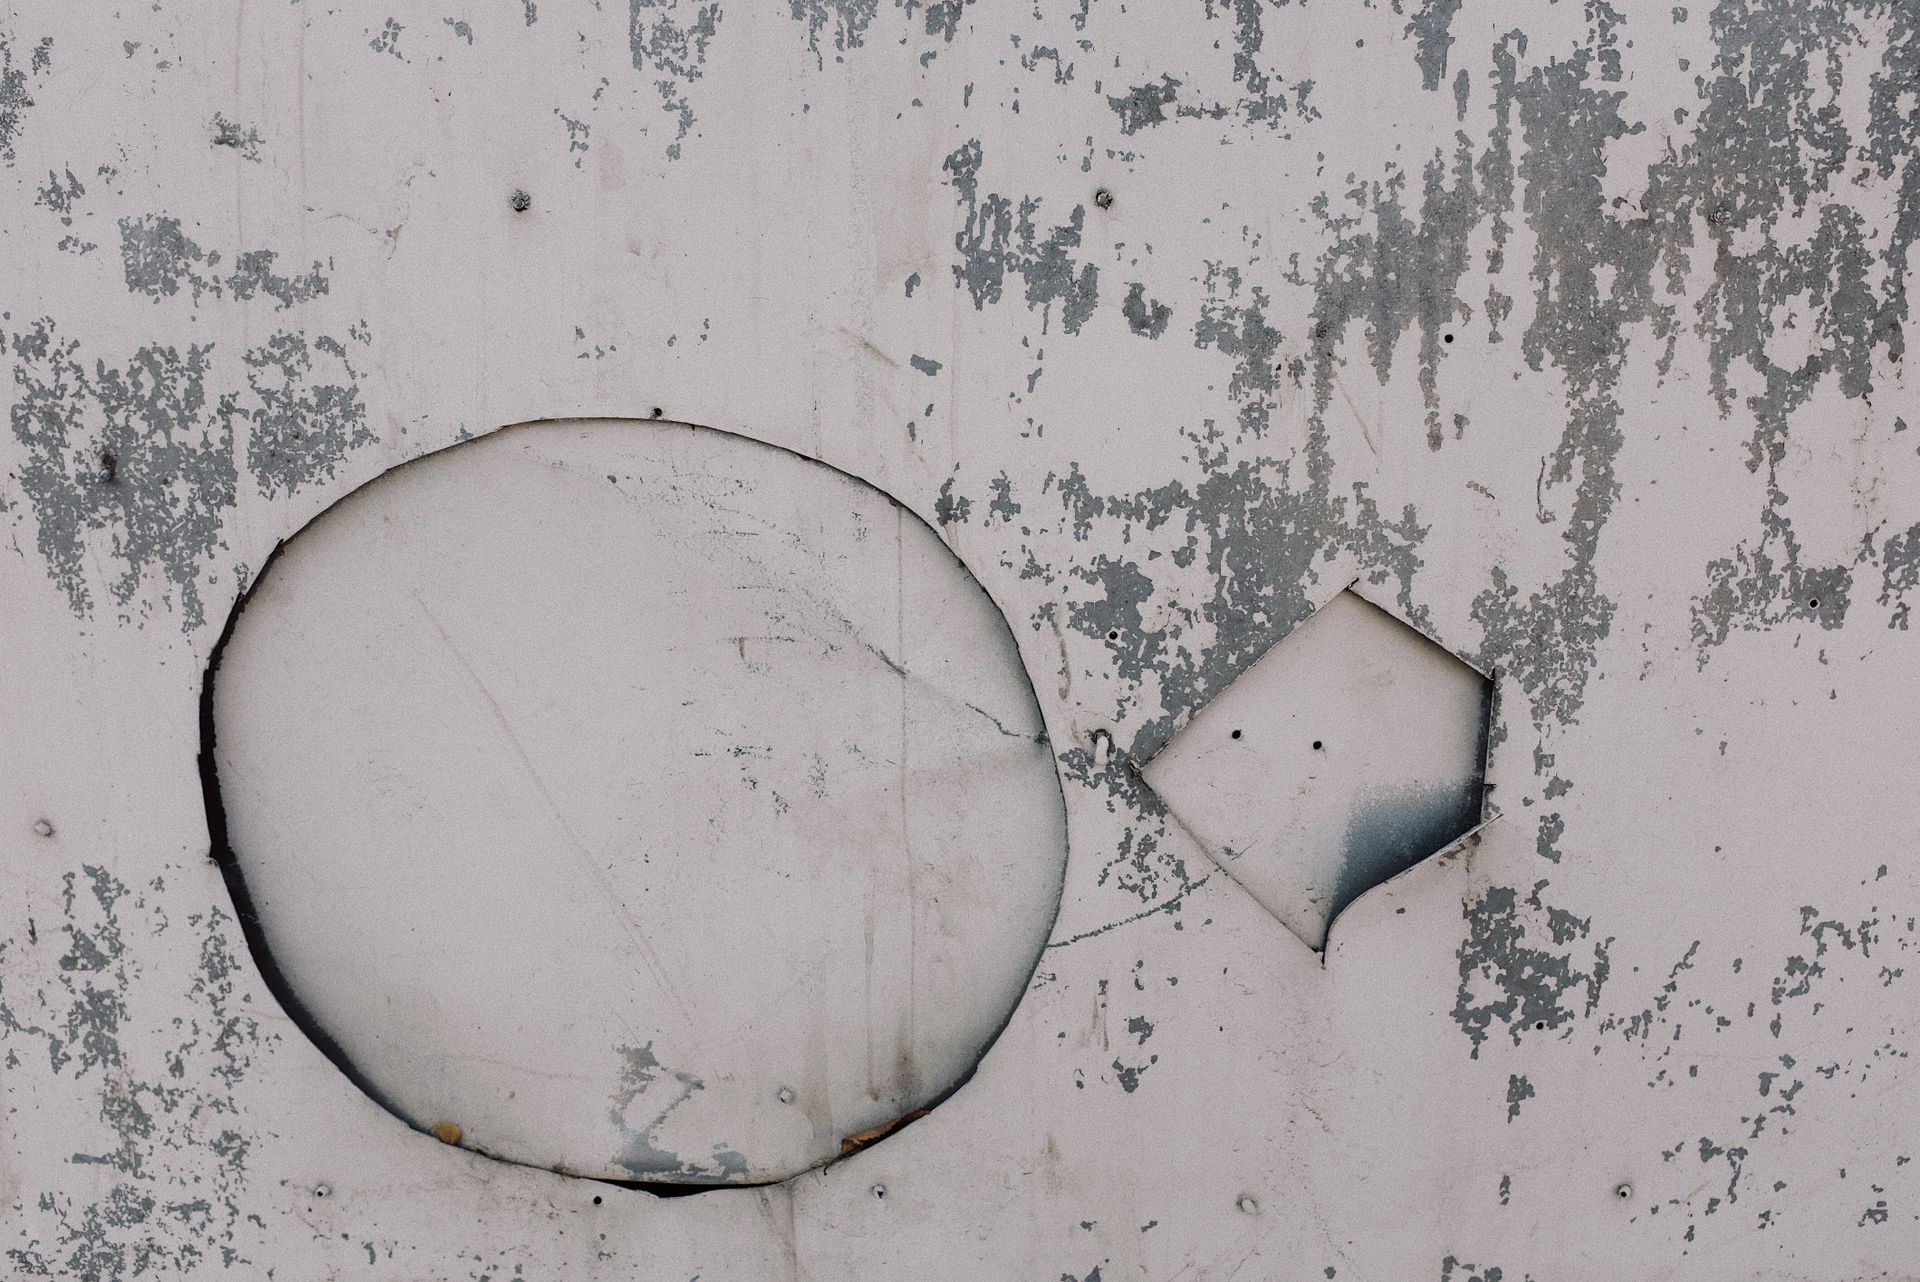
Once the moldings have been taken, the following step will be to eliminate the plaster or drywall from the wall. Before you begin pounding the wall using a hammer, determine if there are plumbing pipes or wiring in the walls.
It's messy work, so be sure to avoid creating a lot of dust and debris. Then, take the drywall off in chunks. Begin at the highest point of the wall, and work your way down, ripping the wall free of anchors as you work. Drywall is not expensive; therefore, don't keep it in storage for reuse. Remains of construction adhesive on the studs could be an issue, but a powerful paint scraper and chisel could take it off so that you can hang the drywall. Removers for construction adhesives can soften difficult residue spots. Make sure you have plenty of airflows and allow the remover the appropriate time to perform its job. Make sure you wear a mask that is rated specifically for dust that is fine and not only nuisance dust. A fine-dust rated mask has two straps and is more durable than a nuisance-dust one.
STEP 1.
Prep Wall
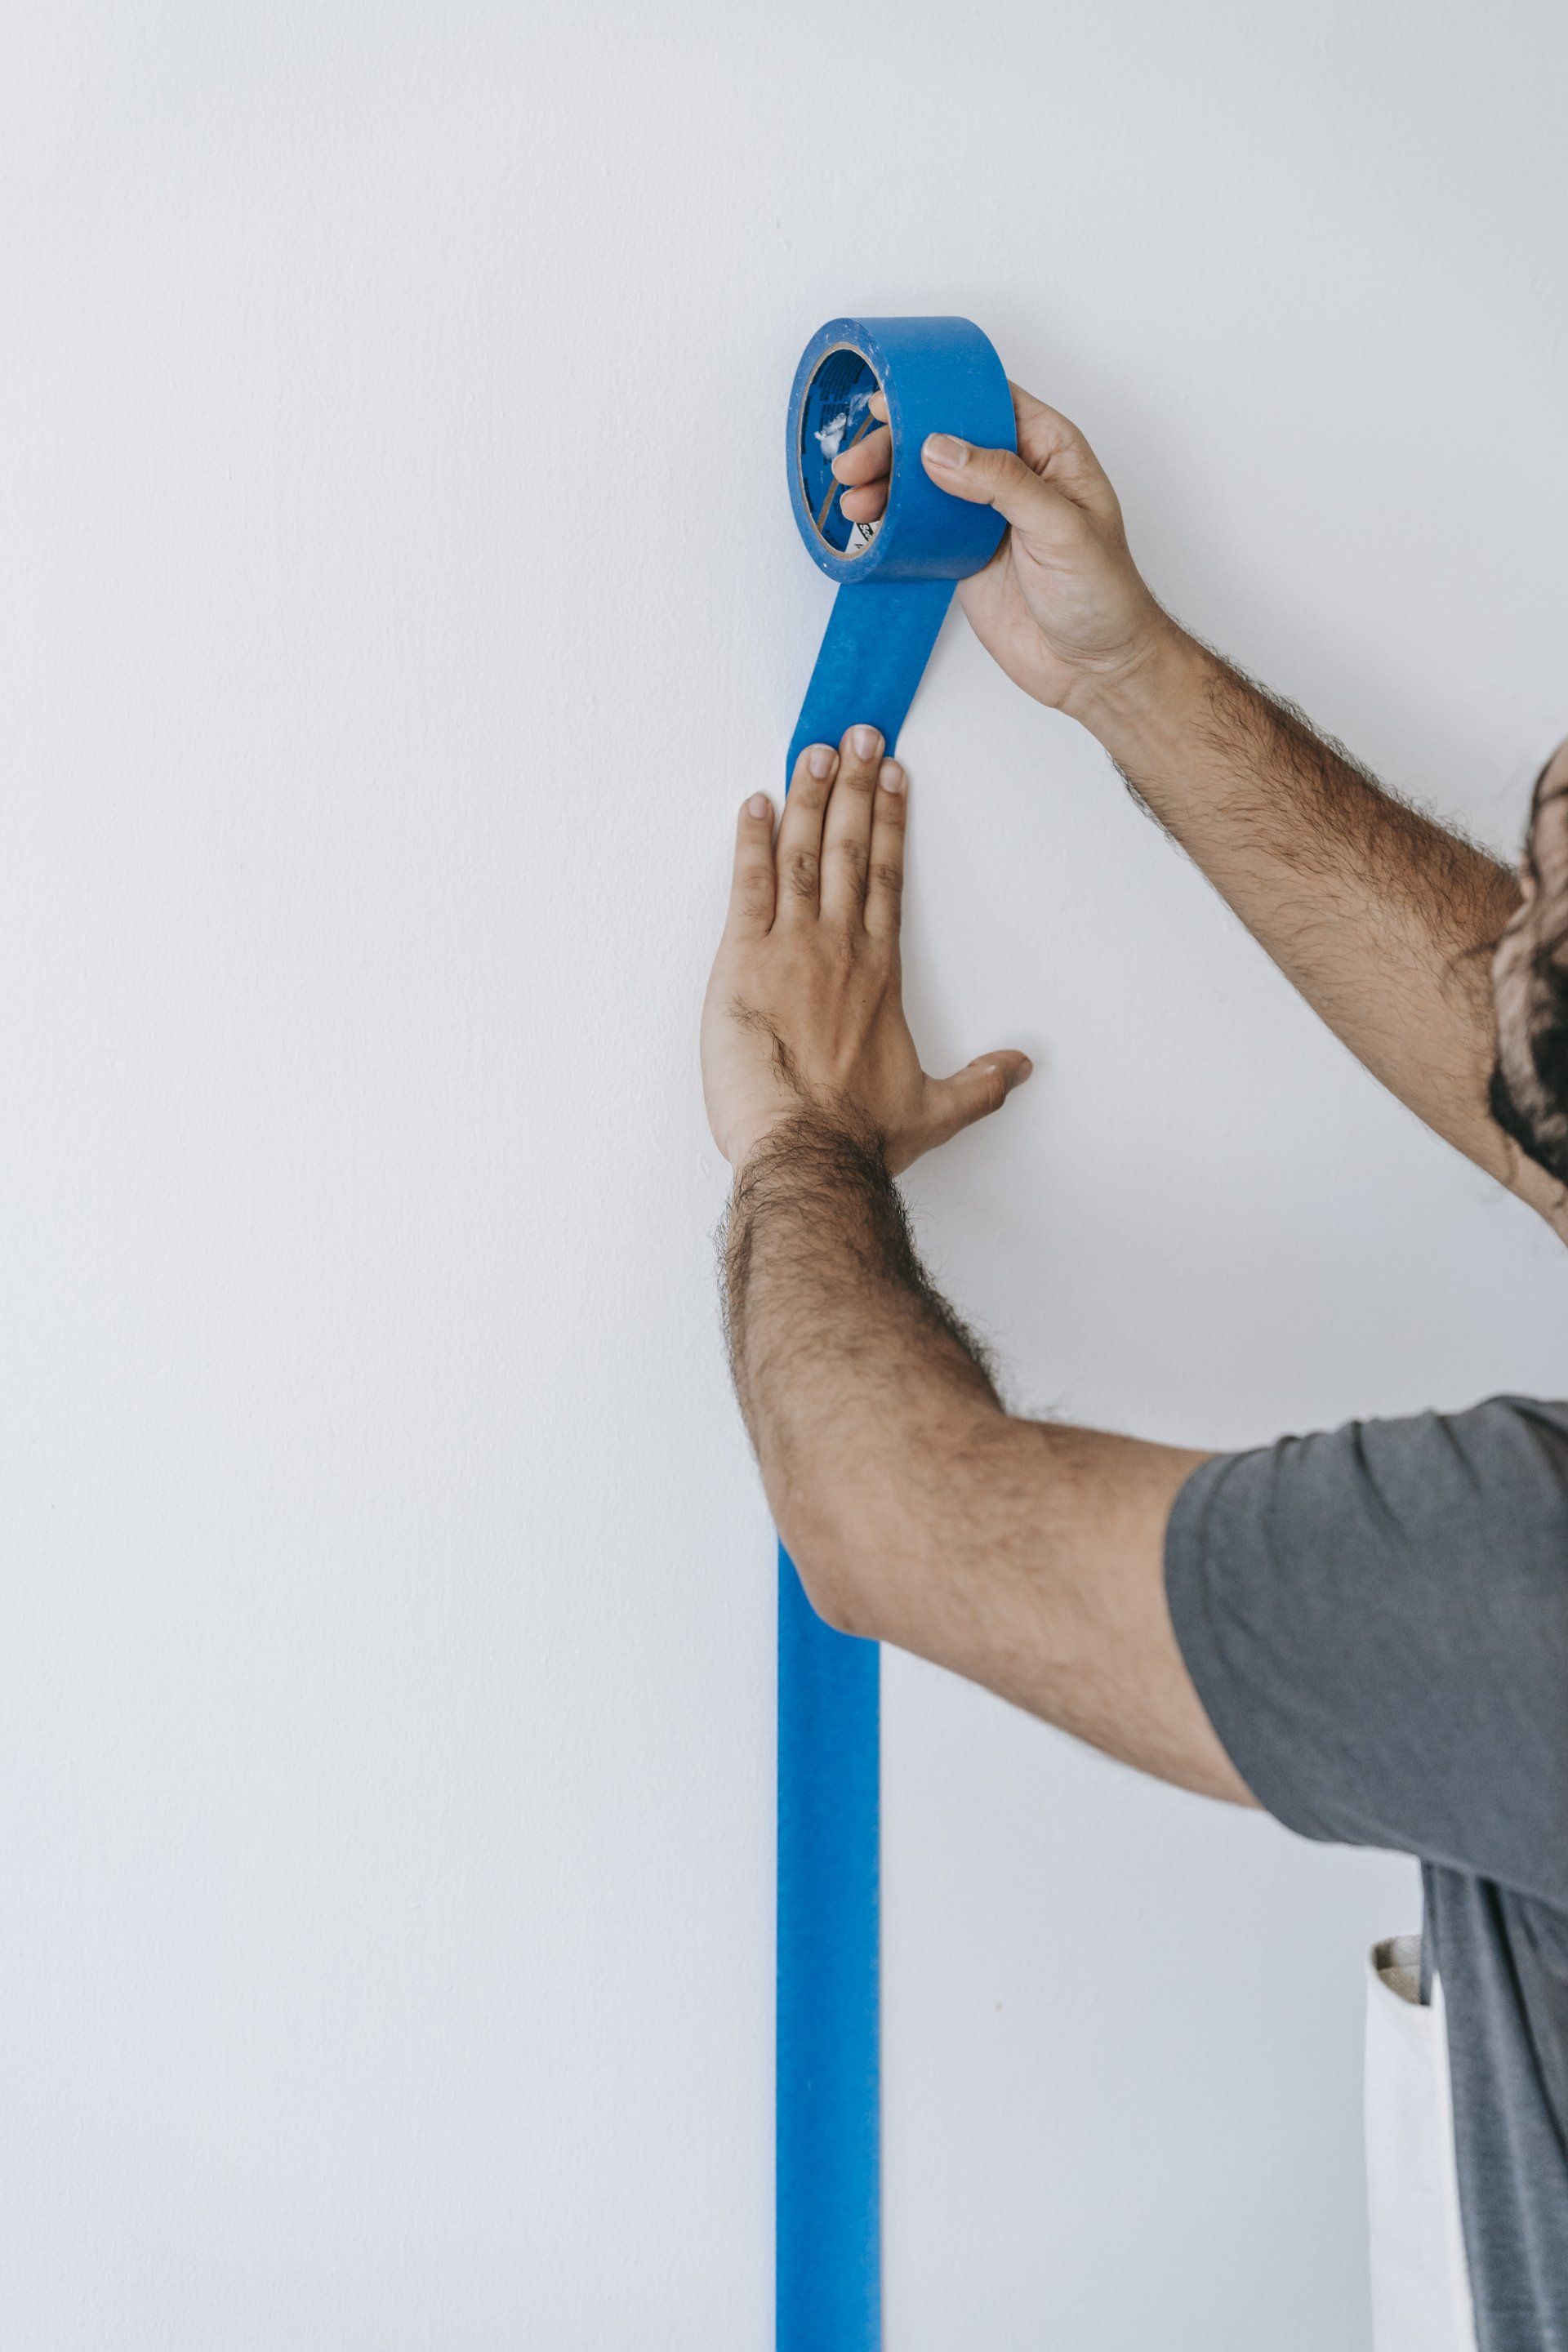
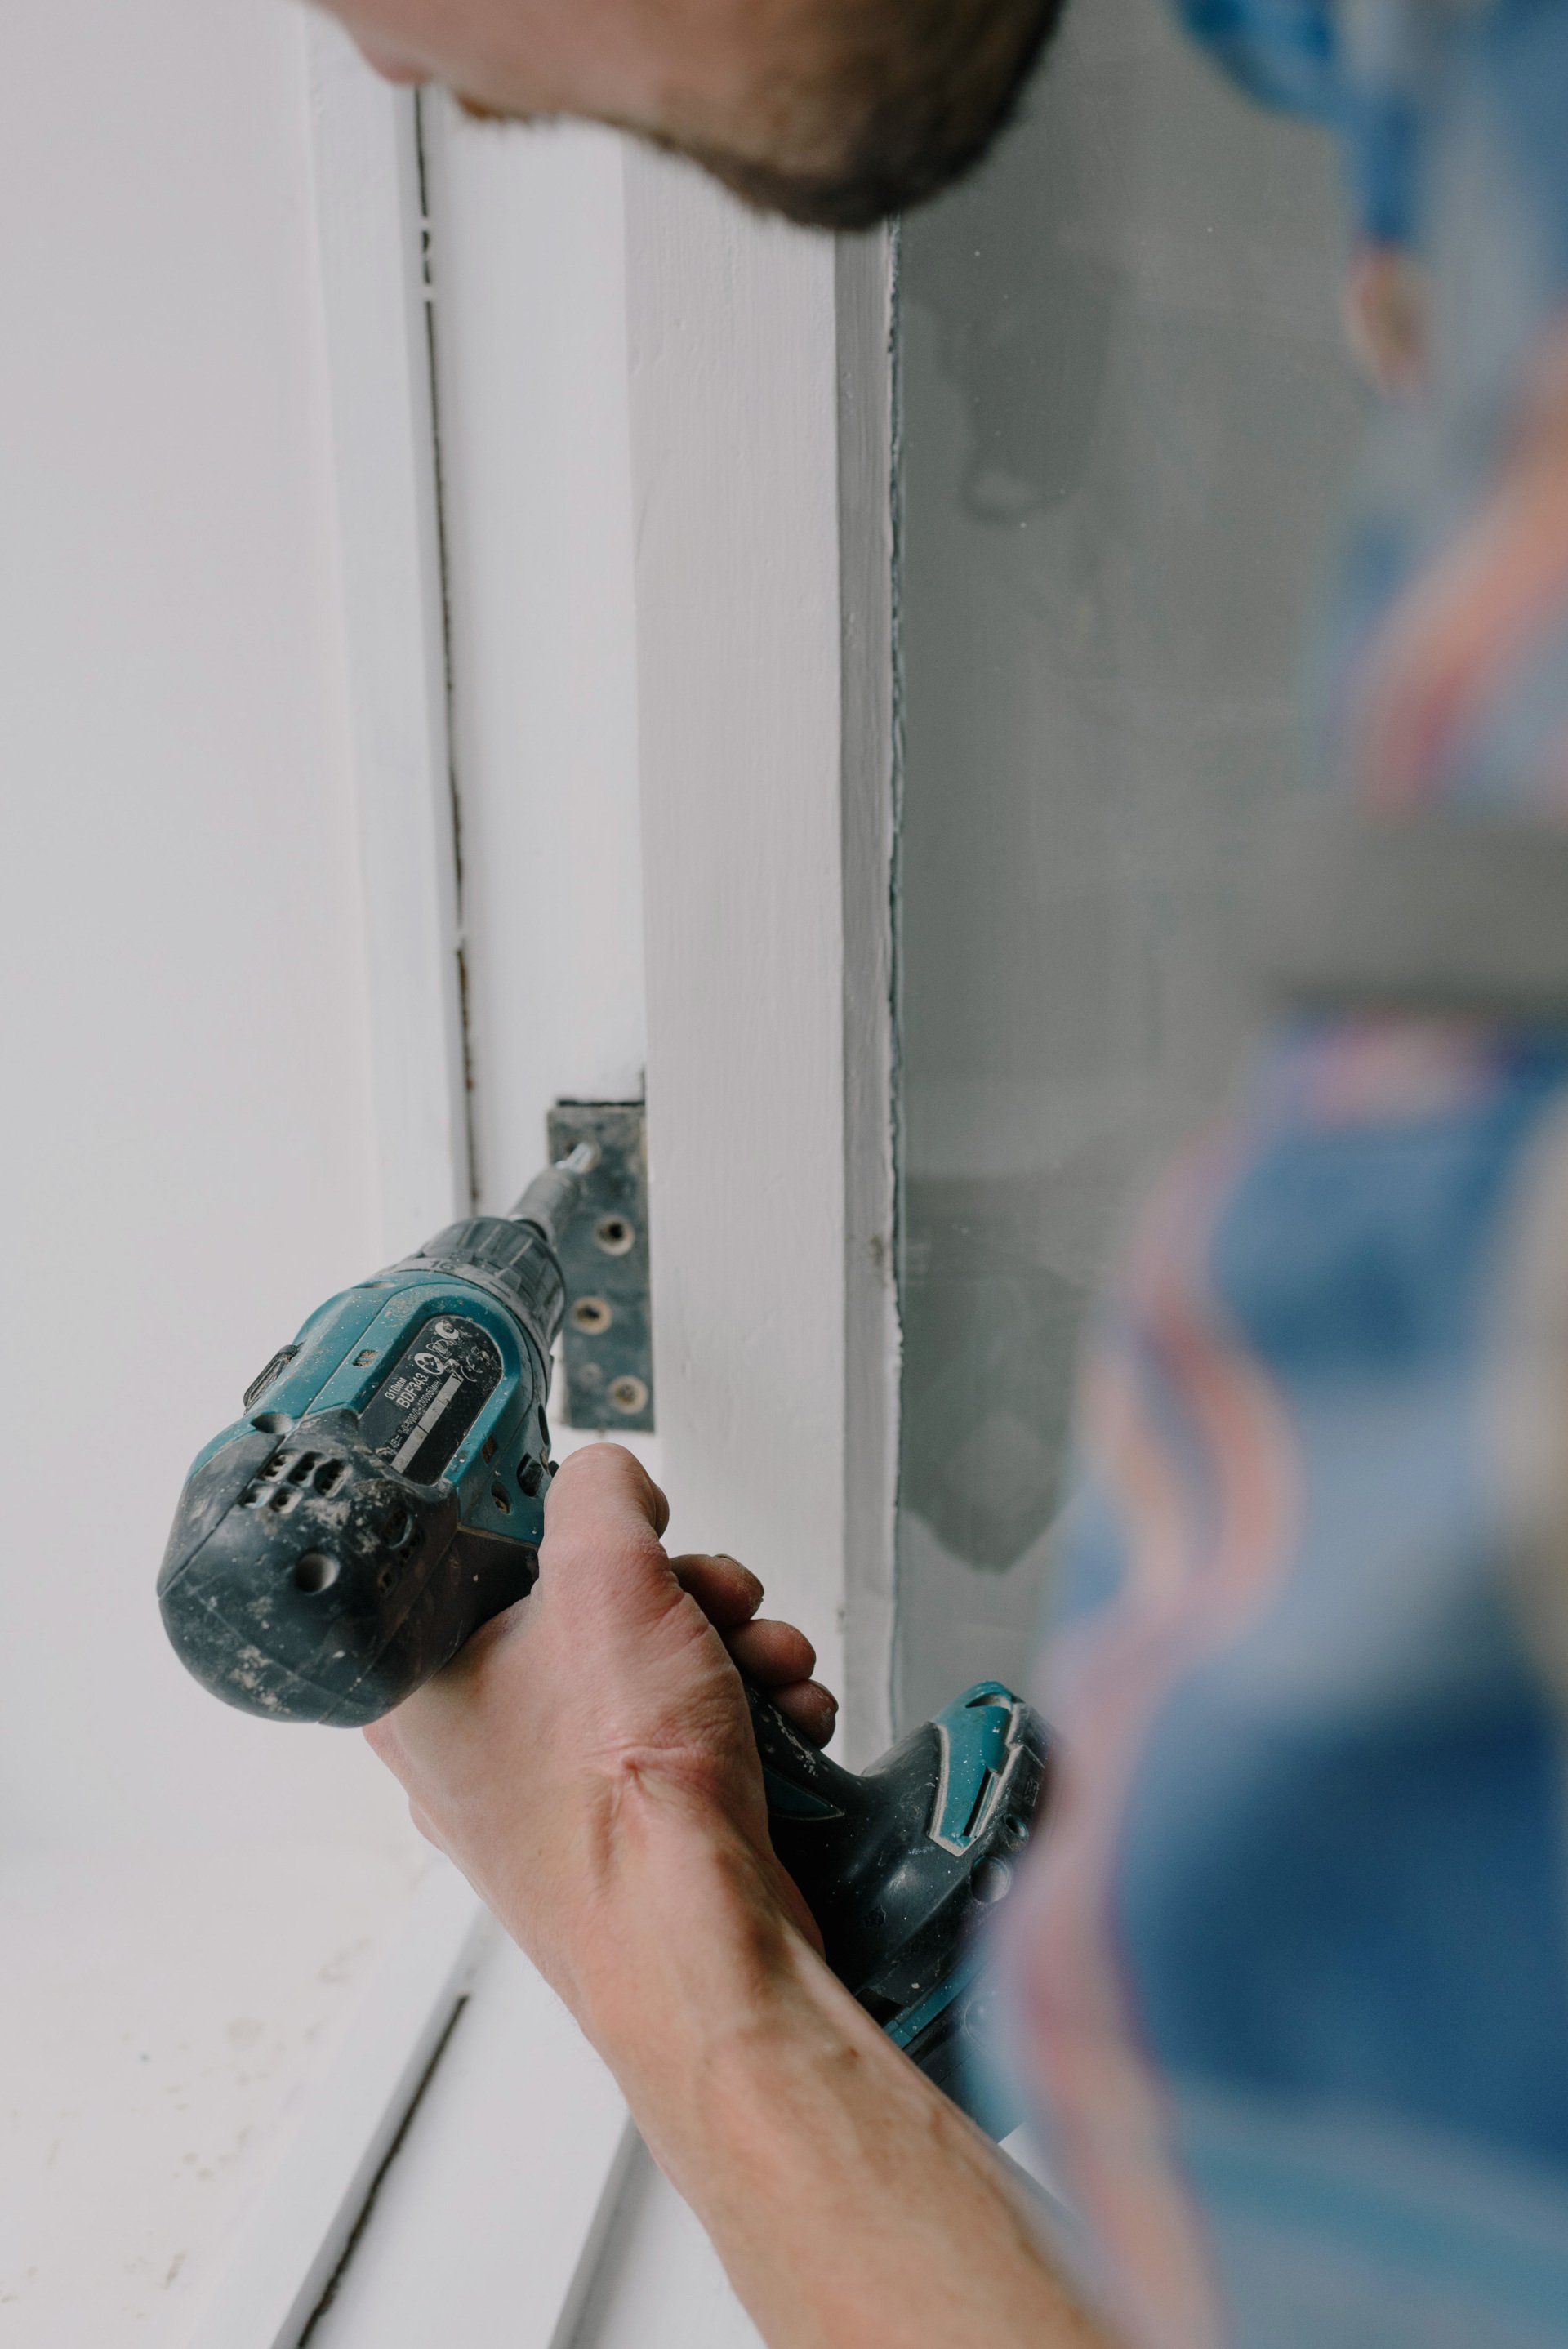
Shut off power to the panel for service and then remove the cover plates from the wall boxes. If you're finishing the drywall removal process at the wall or ceiling's corner, cut through your joint tape and compound using a knife. A saw cut across the stud is the border of a removal job that is only partial.
STEP 2.
Make Handholds
Make a series of hammer holes along the stud bays, creating hands for removal. Make sure you don't harm hidden plumbing lines, heat ducts, and wiring.
STEP 3.
Remove Drywall
Grab the drywall and pull it down, breaking it into smaller pieces. To prevent excessive handling, place the pieces directly into a trash container instead of on the floor.
STEP 4.
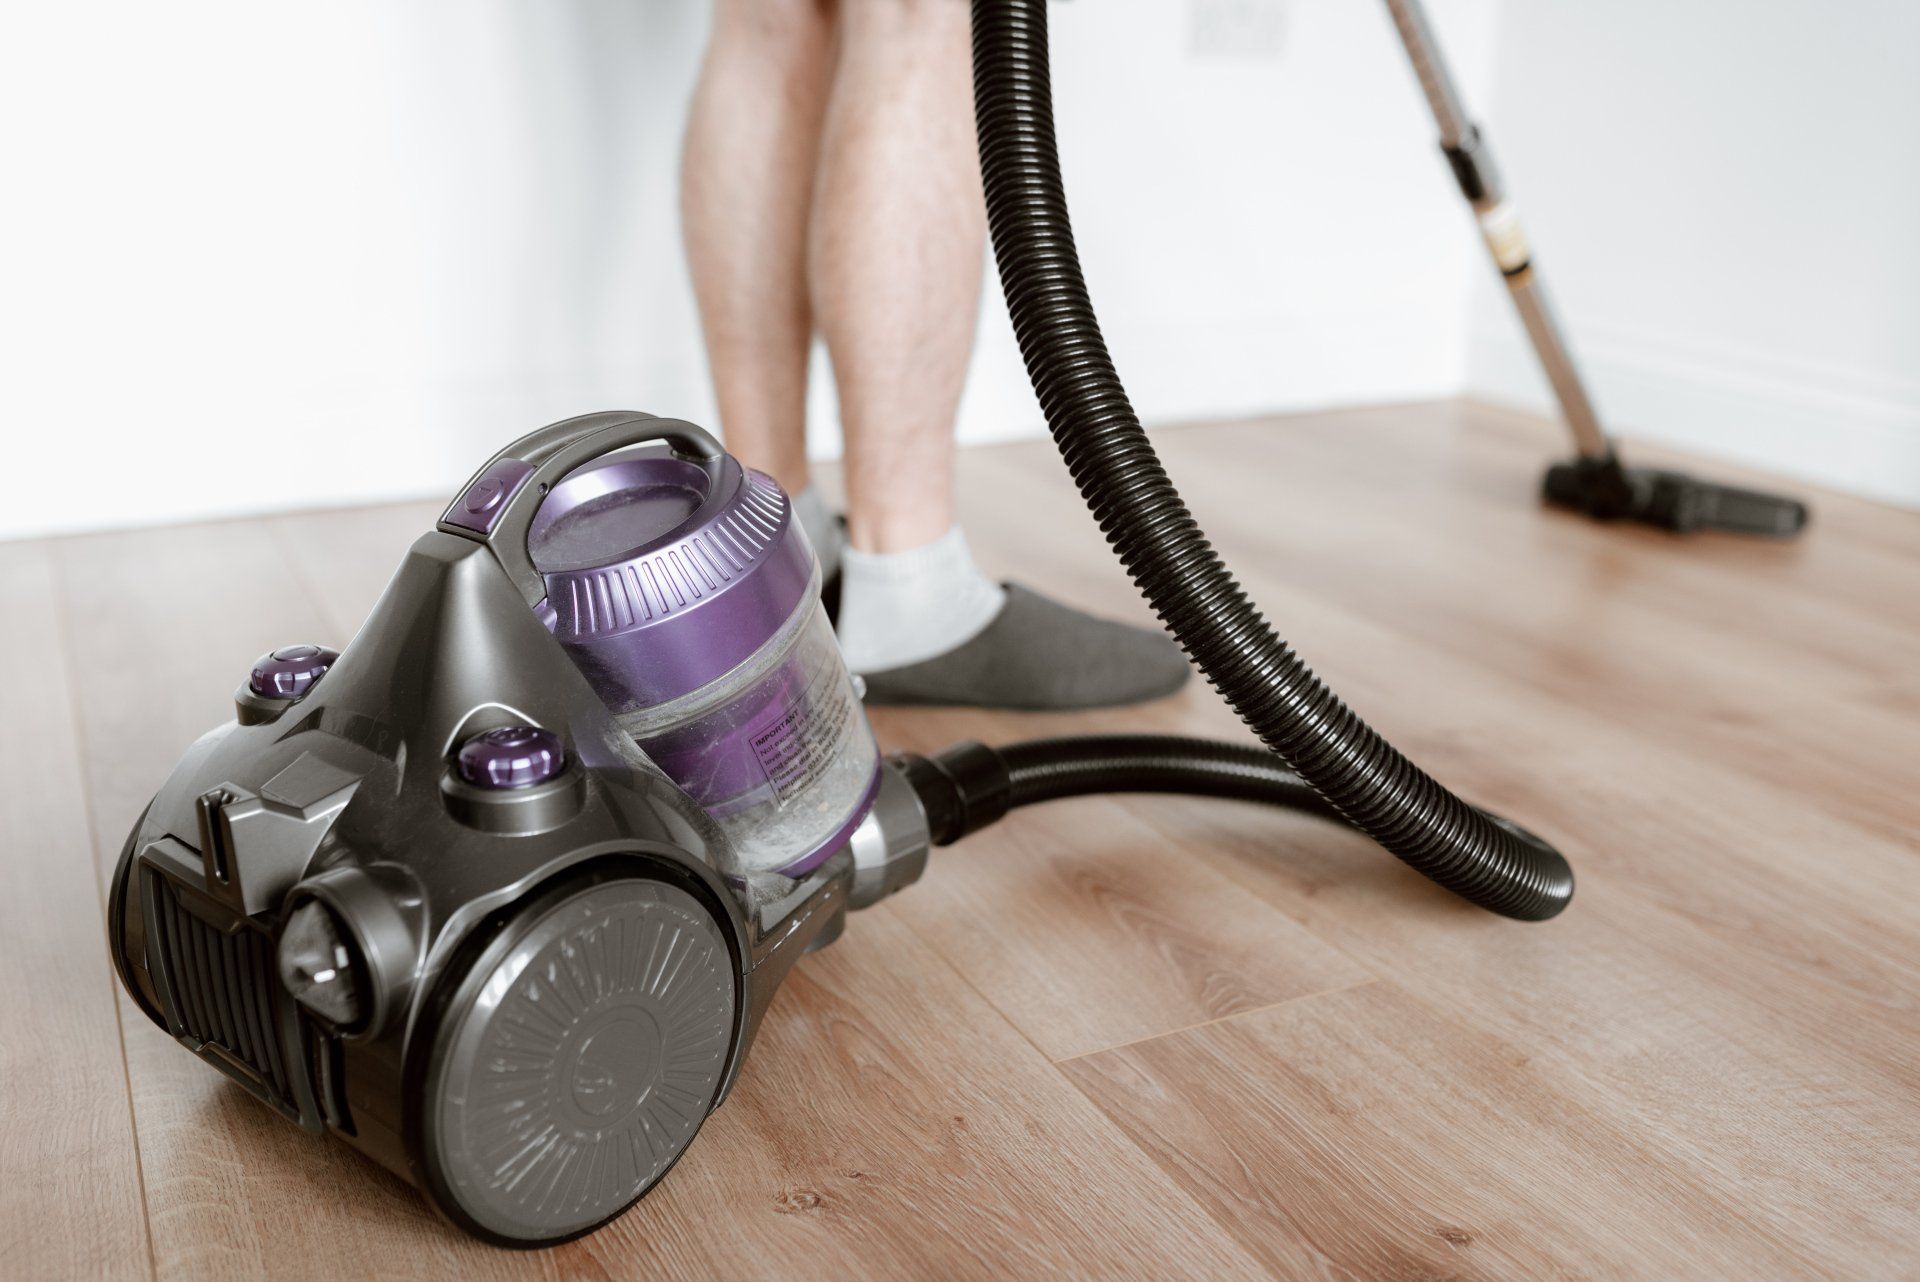
Clean Up
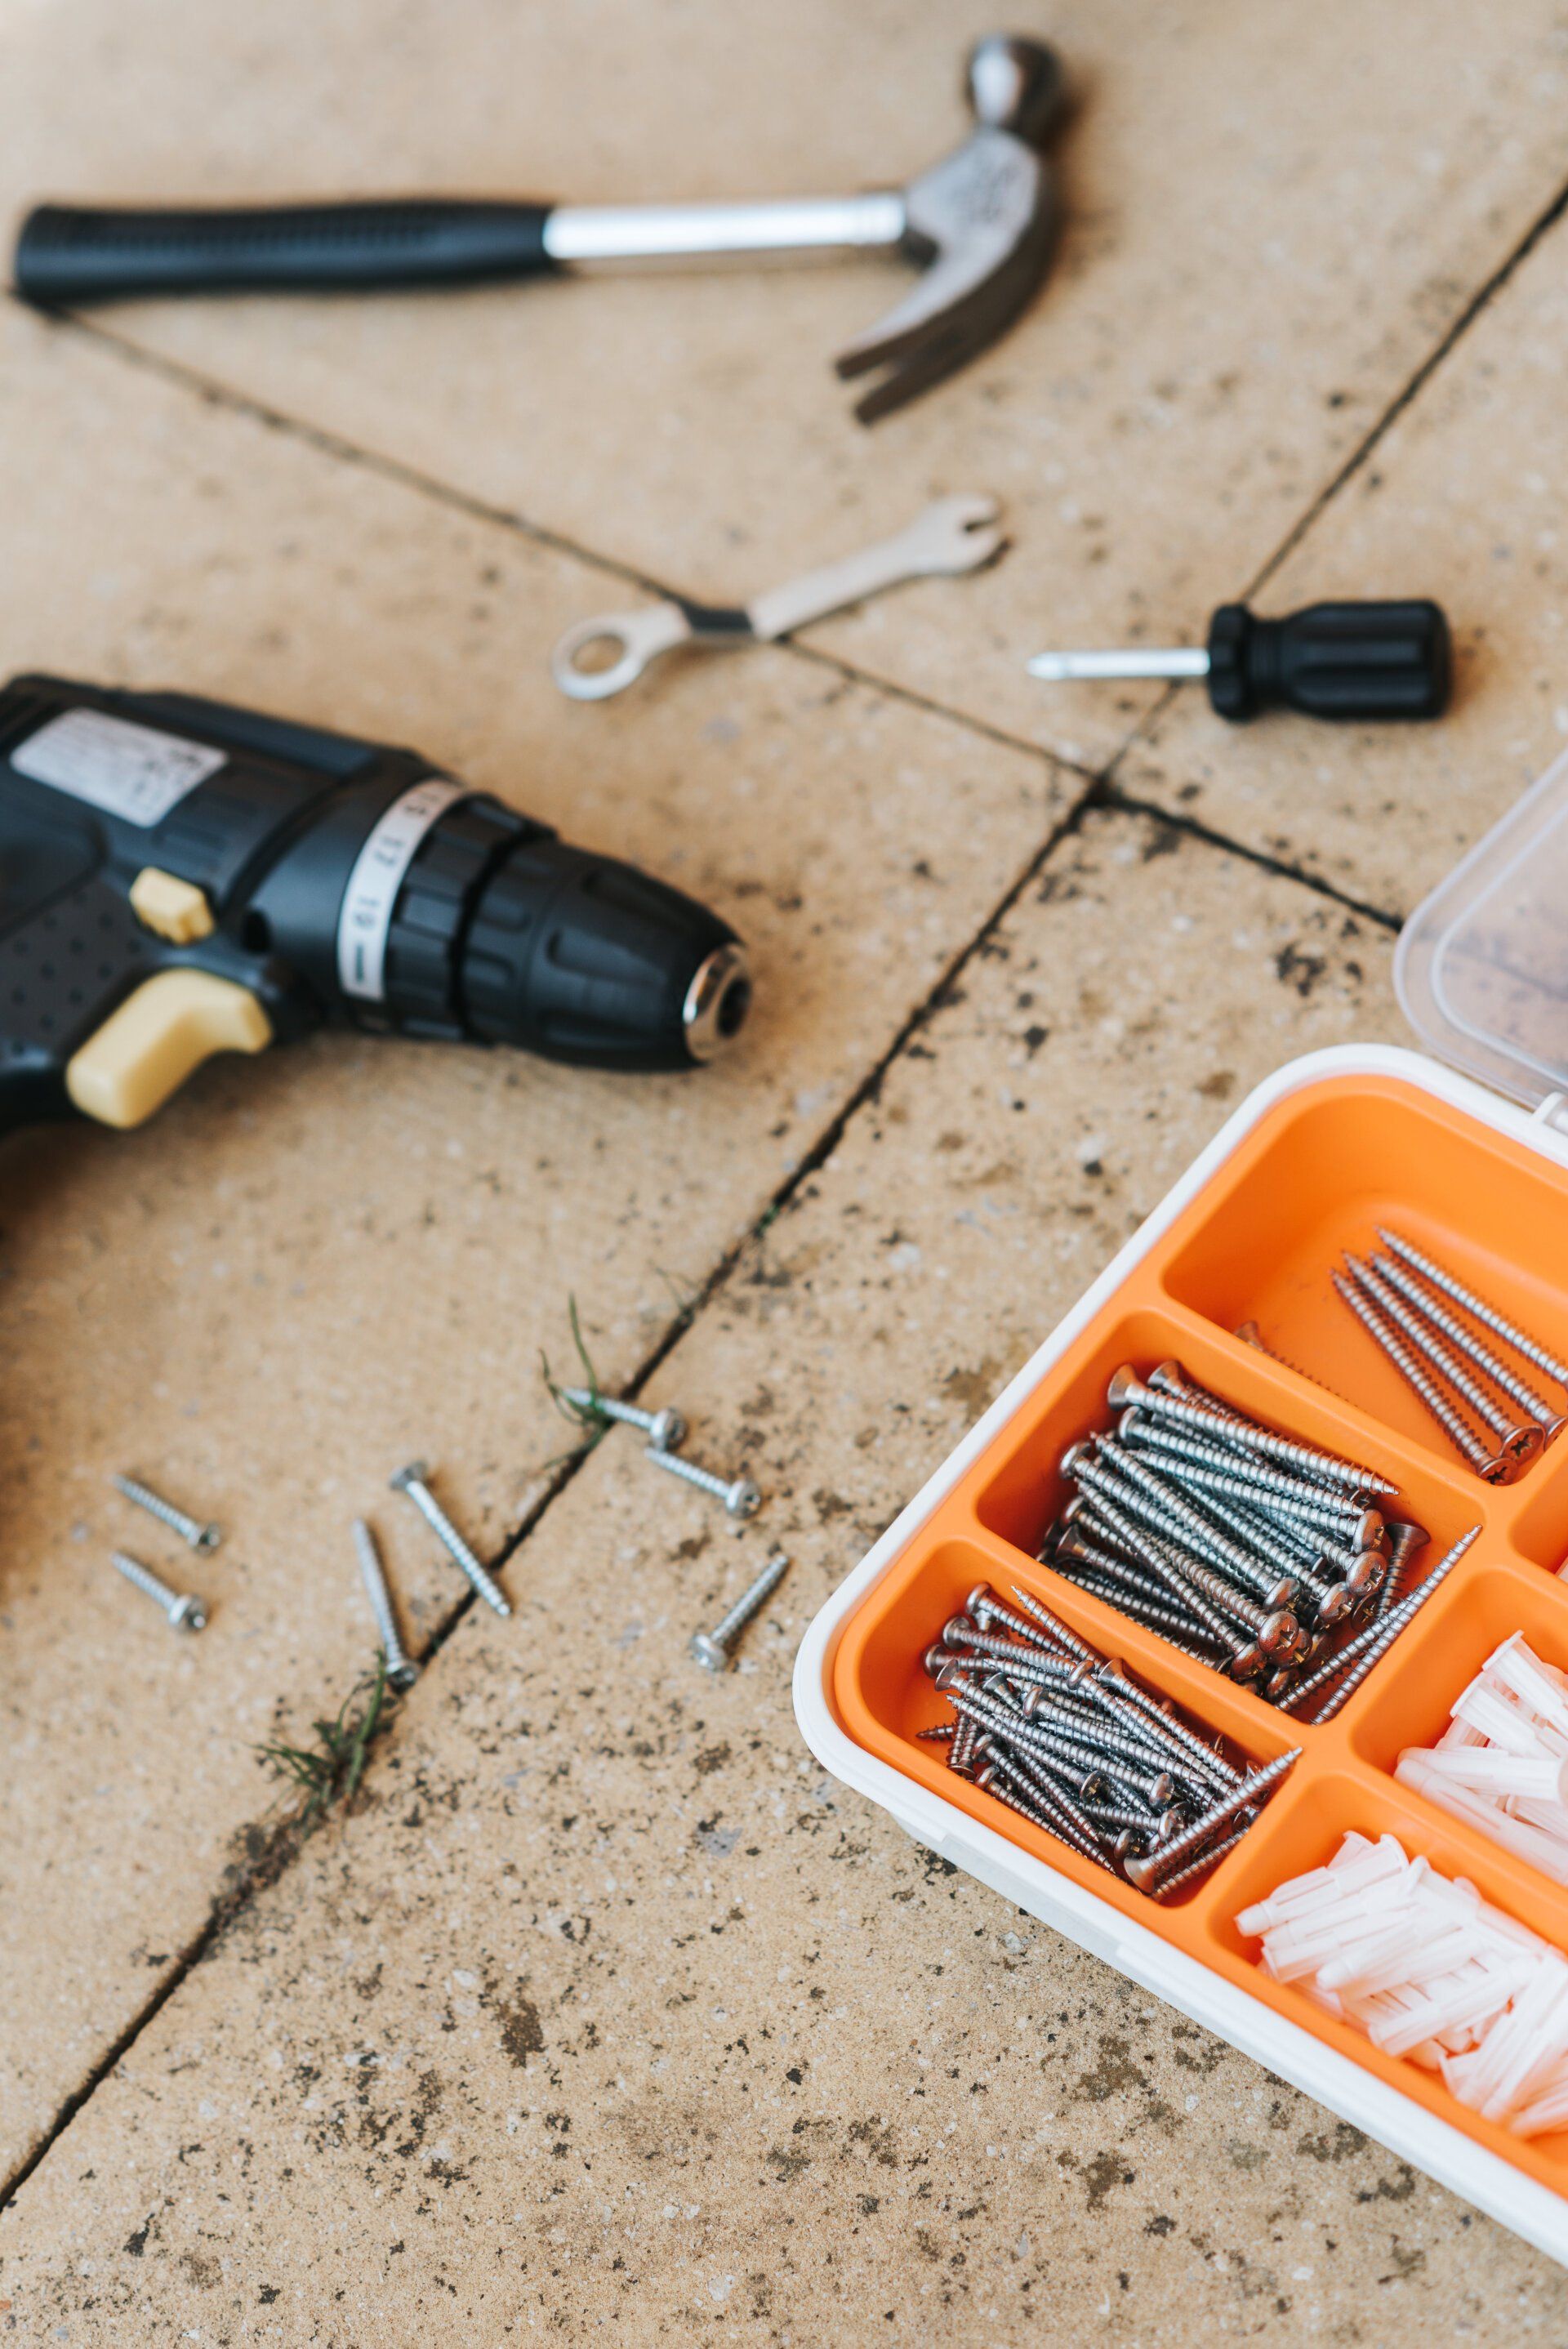
Clean up the studs by pushing nails away or removing screws. For a thorough search of each fastener, use an edge of a putty knife or the edges of your hammerhead over the stud. Even if you're removing the wall, the removal of fasteners ensures that the studs are safe to work with.
Ready to work with Expert Drywall Vancouver?
Let's connect! We’re here to help.
Send us a message and we’ll be in touch.
Or give us a call today at 778-402-1136
Drywall Vancouver Quote
More Tips, Tricks & Tools